
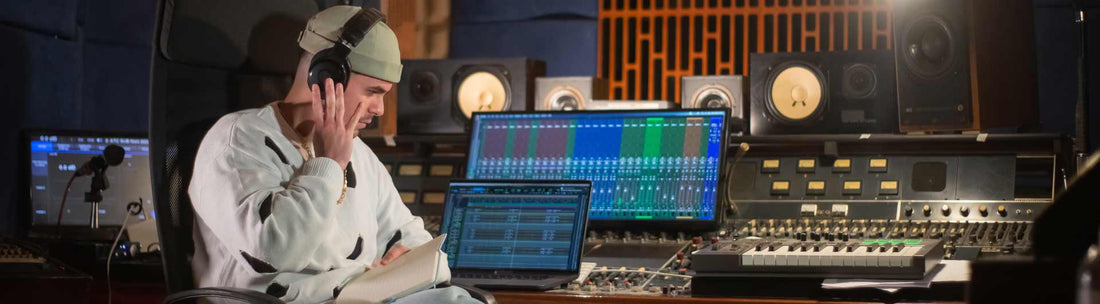
Creating a professional music studio requires more than just high-quality instruments and recording equipment; the acoustic environment plays a crucial role in achieving optimal sound quality. Whether you're a seasoned producer or an aspiring musician, understanding how to use acoustic panels effectively can make all the difference in your recordings. This ultimate guide will provide insights into the best acoustic treatments for music studios, helping you create a space that sounds as good as it looks.
Why Acoustic Panels Matter
Acoustic panels are designed to absorb sound waves, reduce reflections, and minimize reverberation. In a music studio, these panels are essential for controlling sound quality, ensuring that what you hear is accurate and uncolored by room acoustics. Proper acoustic treatment allows for precise mixing and recording, which is vital for producing professional-grade music.
Types of Acoustic Panels
-
Absorption Panels

Absorption panels are made from porous materials that soak up sound waves, reducing echo and reverb. These panels are typically placed on walls and ceilings to control mid and high-frequency sounds.
- Bass Traps
Bass traps are specialized absorption panels designed to manage low-frequency sounds, which can be challenging to control. These panels are usually thicker and denser than regular absorption panels and are often placed in corners where bass frequencies tend to accumulate.
-
Diffusion Panels

Diffusion panels scatter sound waves in different directions, rather than absorbing them. This helps to reduce standing waves and create a more balanced acoustic environment. Diffusers are typically used in combination with absorption panels to maintain natural room ambiance while controlling sound reflections.
- Combination Panels
Some acoustic panels combine absorption and diffusion properties. These hybrid panels are versatile and can be used in various locations within the studio to achieve a balanced sound.
Best Practices for Acoustic Treatment
- Assess Your Room
Before installing acoustic panels, it's essential to assess your studio's acoustic characteristics. Identify problem areas where sound reflections and standing waves are most prominent. Using a room analysis software or consulting with an acoustic professional can provide valuable insights.
-
Strategic Placement

Proper placement of acoustic panels is key to their effectiveness. Start by treating the first reflection points, which are the areas where sound waves initially bounce off walls. These points are typically on the side walls, ceiling, and behind the listening position. Next, address the corners with bass traps to control low-frequency buildup. Finally, add diffusers to the rear walls to scatter sound and maintain a balanced acoustic environment.
-
Balance Absorption and Diffusion
While absorption panels are essential for reducing reflections, too much absorption can make a room sound dead. Balance absorption with diffusion to preserve the room's natural ambiance and prevent over-damping. A mix of both treatments ensures a more accurate and pleasant listening environment.
- Consider Aesthetics
Acoustic panels come in various designs, colors, and materials, allowing you to customize the look of your studio. Choose panels that complement your studio's aesthetic while providing the necessary acoustic treatment. Techlite offers custom-printed panels that can display artwork or branding, adding a personal touch to your space.
- Monitor Your Budget
Acoustic treatment can be a significant investment, but it's crucial for achieving professional sound quality. Prioritize essential treatments first, such as absorption panels and bass traps, and gradually add diffusers and other enhancements as your budget allows.
Top Acoustic Panel Products for Music Studios
-
Acoustic Pyramid Panels

TECHLITE® Pyramid Panels are a perfect option to reduce echo and reverberation whilst maintaining a unique architectural feature for the specific space, whether treating recording studios, control rooms, music rooms or open-office areas.
Check out Techlite's Acoustic Pyramid Panels here.
-
3-point Wedge

Experience unparalleled sound quality with our Melamine Acoustic 3-Point Wedge. Designed for optimal sound diffusion and absorption, these wedges enhance your listening environment by reducing echoes and reverberations. Elevate your experience with precision-engineered acoustics in a sleek, modern design.
Check out Techlite's 3-point Wedge here.
-
Triangular Acoustic Wedge Panels

The Triangular Acoustic Wedge Panels can be direct-applied to ceilings, can be laid in pre-engineered suspension systems and adhered to walls, the latter being their most common application.
Check out Techlite's Triangular Acoustic Wedge Panels here.
-
Pulse Acoustic Bass Trap

Infrasonic bass trap with a unique pulse design to capture low frequency.
Check out Techlite's Pulse Acoustic Bass Trap here.
Conclusion
Achieving optimal sound quality in a music studio requires careful planning and the right acoustic treatments. By understanding the types of acoustic panels available and following best practices for placement and balance, you can create a professional-grade studio environment. Investing in high-quality acoustic panels will enhance your recordings, mixes, and overall productivity, allowing you to produce music that sounds its best.